
A short README, handoff note, or project outline should be easy to read as well as easy to write. Markdown gives you a plain-text source, but it helps to see what headings, lists, tables, and code blocks will look like before sharing it.
Markdown Renderer in Aelrox combines an editor, a rendered preview, and an outline in one desktop tool. This walkthrough creates a small project document, checks its presentation, and exports a real .md file.
Start with a small document
Install Aelrox, then install Markdown Renderer from the Micro Apps Store. Open it from the store or find it in Search Bar.
Replace the example text with something you actually need to share. For our Windows session, we used Launch notes: a short checklist, a two-color project palette, a CSS example, and a next step.
You can begin with this smaller version:
# Launch notes

## Before sharing
- Check the download link.
- Add one clear screenshot.
- Explain the first useful action.

## Next step
**Review the preview**, then save the document.
Use headings to divide the document into tasks or topics. They also give the outline meaningful destinations. A few descriptive headings are more useful than a long document whose sections all look the same.
Write with the preview beside you
Choose Split to keep the source and rendered result side by side. The toolbar offers common formatting actions, including headings, bold, italic, code blocks, quotes, links, lists, and tables.
The preview helps catch small mistakes while the source is still in front of you. A list should appear as separate items; a heading should stand out from the paragraph below it. You can edit the Markdown directly rather than adjusting the same formatting in a second application.
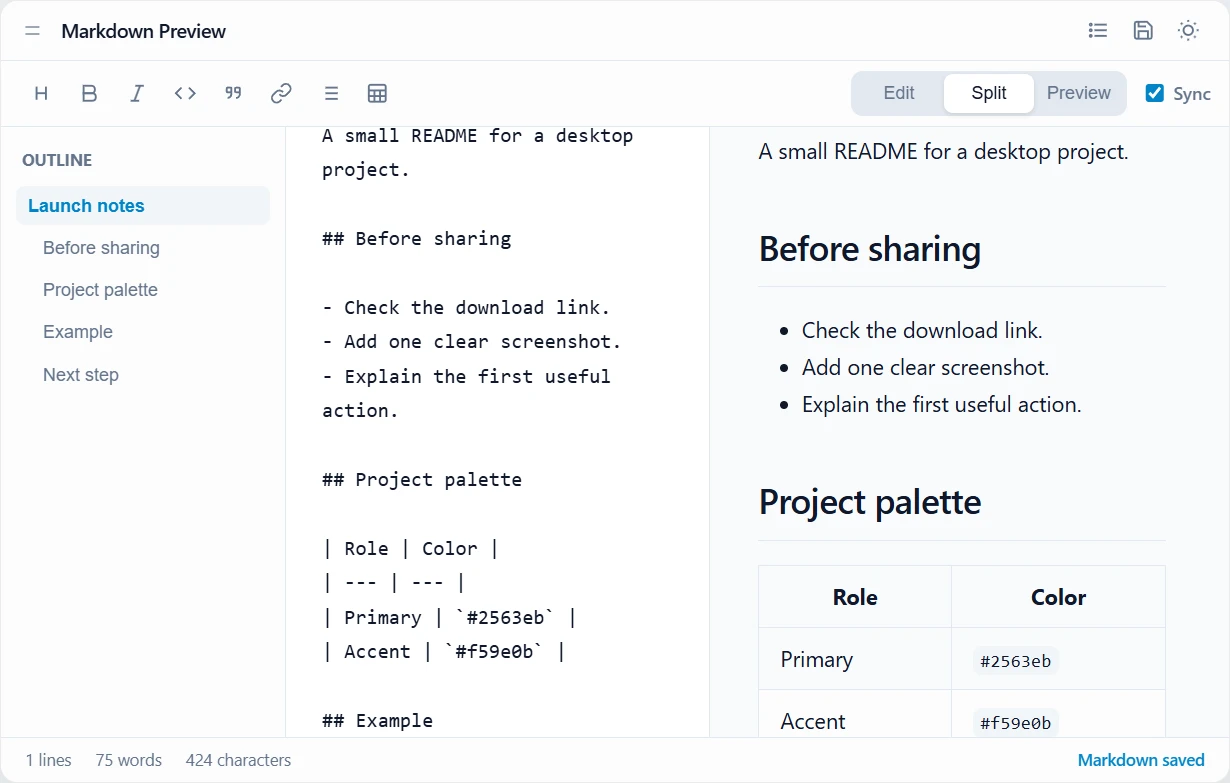
The same demo document appears as Markdown source and rendered content in the actual Windows client.
The Sync control supports synchronized scrolling between the editing and preview panes. For focused writing, Edit gives the source more space. For checking the reading experience, switch to Preview.
Navigate with the outline
Use Toggle outline to show or hide the heading list. Select a heading to jump to its section rather than searching through a long scroll position.
Our example adds Project palette and Example sections. The palette uses a Markdown table; the example uses a fenced CSS code block. Selecting Example brought the code section into view, with its rendered syntax highlighting beside the source.
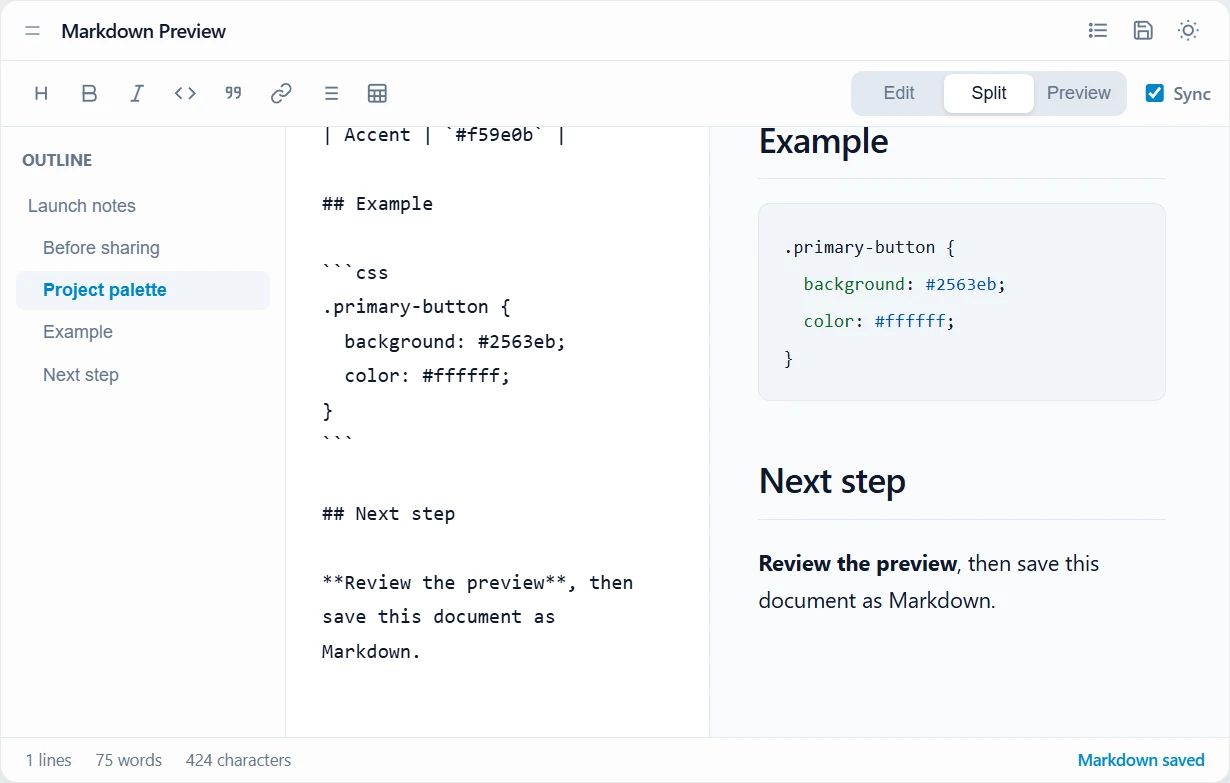
The outline provides section navigation; the code block is rendered as code rather than ordinary paragraph text.
For your own document, use the language label that matches your example. The purpose of the preview is to inspect presentation, not to execute or validate the code in a block.
Check how the document reads
Switch to Preview and read through the result. Check that the heading order makes sense, table entries are readable, and the next action is clear. This is also a useful moment to remove notes that only made sense while you were drafting.
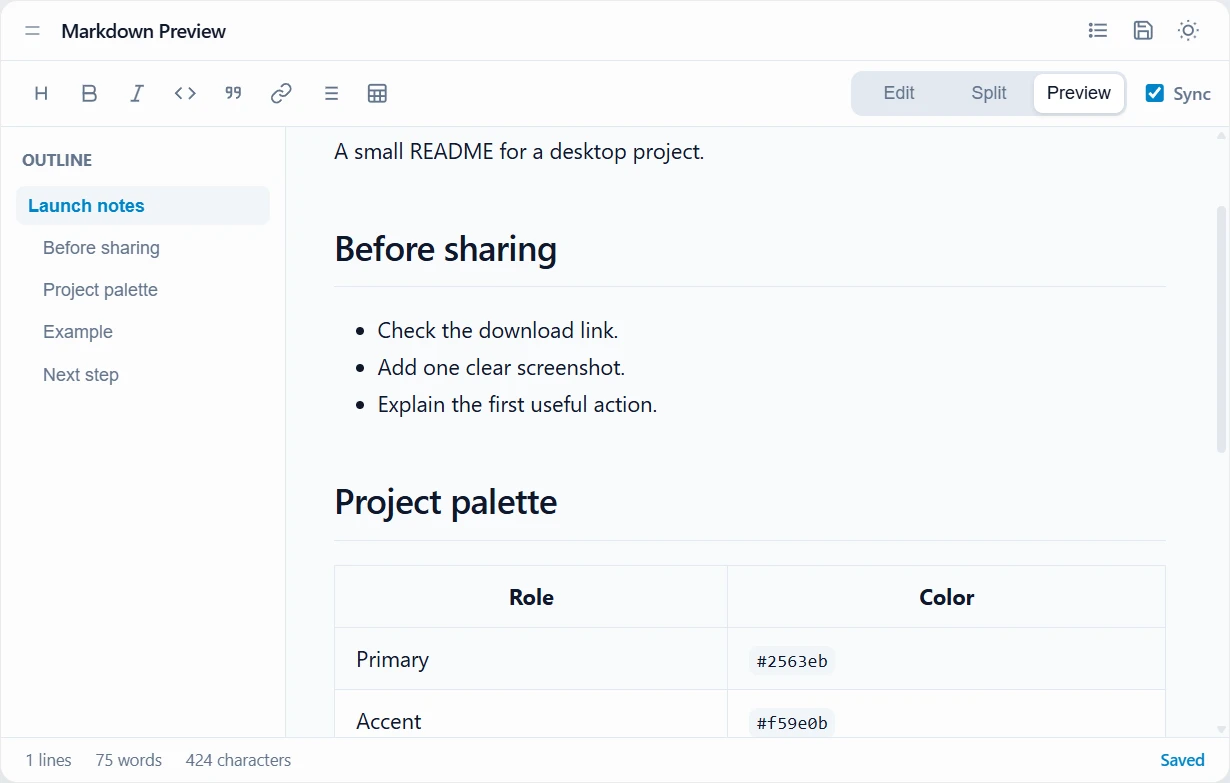
Preview mode gives the rendered checklist and table more room without changing the Markdown source.
Export a file before closing the tool
Choose Save Markdown, select a destination, and save a .md file. In this session, we exported launch-notes-export.md and checked that its text matched the document we entered, allowing for line-ending differences.
The editor also displays a save-status indicator while you work. Treat the exported file as the copy you keep or share. In our Windows check, closing the tool window and launching it again opened the initial example rather than the previous draft, so export important work before closing the window.
This walkthrough verifies Markdown export. It does not establish PDF or HTML export, file synchronization, or a complete project-folder editing workflow.
Give a small document a clear finish
Try the tool with one README, setup note, or handoff document. Add useful headings, inspect a list or table, and export a named file that belongs with the project.
Open Markdown Renderer, or download Aelrox to run it on your desktop. The desktop toolkit guide shows how a writing tool can fit alongside file search and a pinned visual reference.