
A useful software demo shows one task clearly: where to click, what changes, and what the result looks like. With Screen Region Recorder, you can capture a display, window, or selected area, then review and export the clip.
For your first recording, choose a task you can complete in about 20–30 seconds. Opening a file, changing one setting, or demonstrating a micro app gives the viewer something concrete to follow.
The screenshots in this guide come from the Windows desktop client using the official-store Screen Region Recorder 1.9.4. The example records File Search Desk and exports a real MP4 file.
Set up the scene
Install Aelrox, then open Screen Region Recorder and select Open in Aelrox.
Arrange the app you want to demonstrate before recording. Make its important controls readable, move unrelated windows away, and close notifications or documents you do not want in the clip.
Decide how the clip should end. A viewer needs a moment to see the result, so leave the completed action visible rather than stopping as soon as you click the final button.
Choose what to capture
Select the source that fits the task:
| Source | Useful when… |
|---|---|
| Display | The task moves between several windows |
| Window | The demonstration stays inside one application |
| Region | Only a particular part of the desktop needs to be visible |
For a region, position the selection around the complete area you will use. Allow room for menus or dialogs that appear during the task. A tightly cropped starting screen is less useful if the next menu opens outside it.
Review the selection before confirming it. You can adjust the region or cancel and start again.
Decide whether you need sound
The recorder has separate choices for system audio and microphone input. Turn on only the sources the demonstration needs. A silent clip can be enough when the action is obvious; a microphone is useful when you need to explain why you are making a choice.
Check the selected microphone and any operating-system permission prompts before committing to the full take. Audio availability depends on the source, system, and permissions, so a short trial followed by playback is the simplest way to check your setup.
Select a resolution appropriate for the output. The available 720p, 1440p, and 2160p choices do not mean every computer can sustain every requested frame rate. The recorder can fall back to a supported profile, and it does not enlarge a smaller source just to fill a higher-resolution setting.
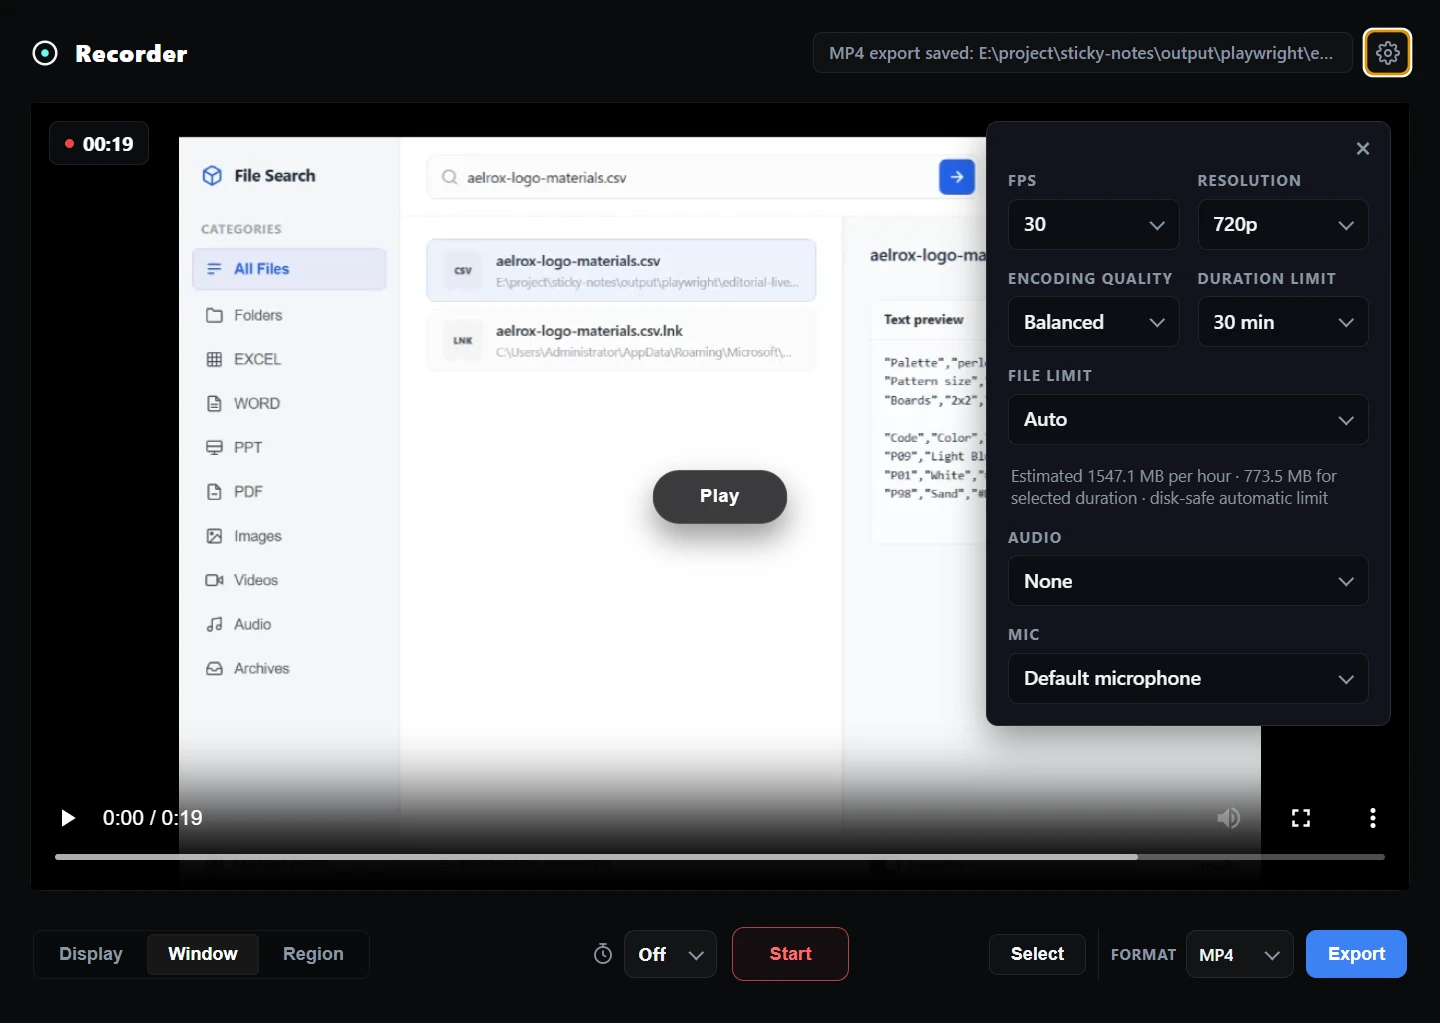
The Windows recording settings used for this example: 30 FPS, 720p, Balanced, and Audio set to None. The source was the File Search Desk window.
Record one complete action
Start recording and use the countdown to move the pointer into position. Perform the task at a pace someone can follow, pause briefly on the completed result, then stop.
For a short tutorial, a clean second take is often easier than trying to explain several mistakes in the same clip. Keep your first attempt until you have checked the replacement, so you still have a usable recording if the second attempt has a problem.
After stopping, review the recording before choosing an export format. Check that the important menu, text, or final state was inside the captured area.
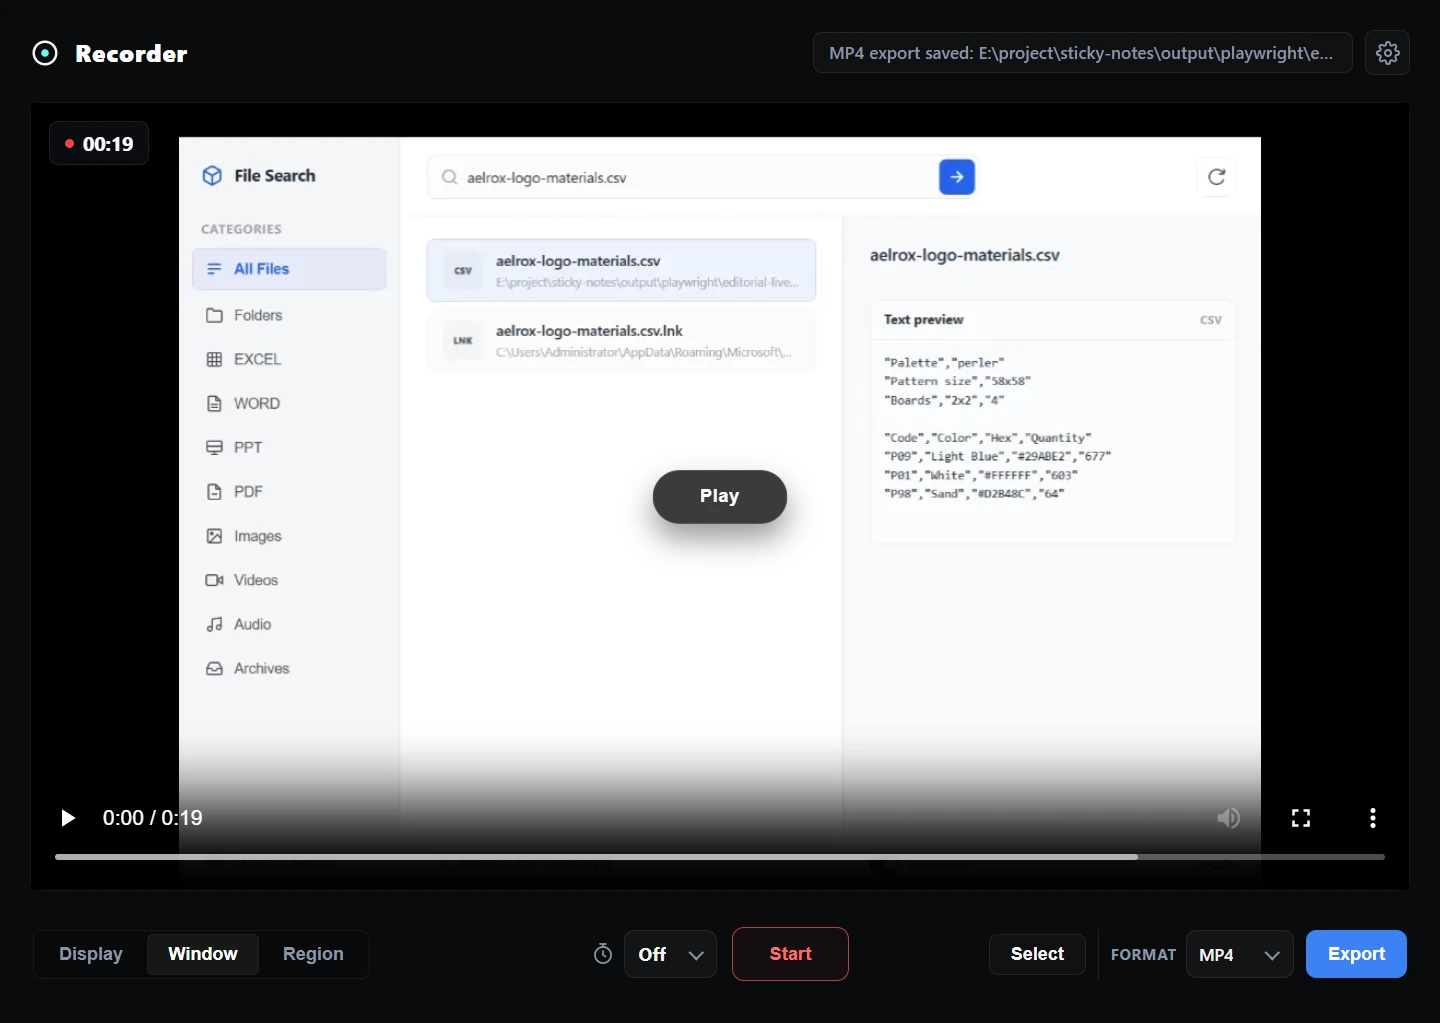
The completed window recording is available for review. The demonstration opens and closes File Search Desk's filter settings while keeping the example CSV visible.
Export and open the saved file
Choose the output format and select Export. Pick a save location when the dialog appears, and wait for the operation to finish.
Follow any dependency setup or error message shown for the selected format. The official-store version used for these screenshots successfully exported the example as MP4.
Open the exported file outside the recorder. Check the picture, the start and end, and any sound you intended to include. An in-app preview alone does not confirm that the saved file contains everything you need.
If export fails, first note the message and the format you requested. Keep the original recording available while you investigate, and check that you are using the current official-store version.
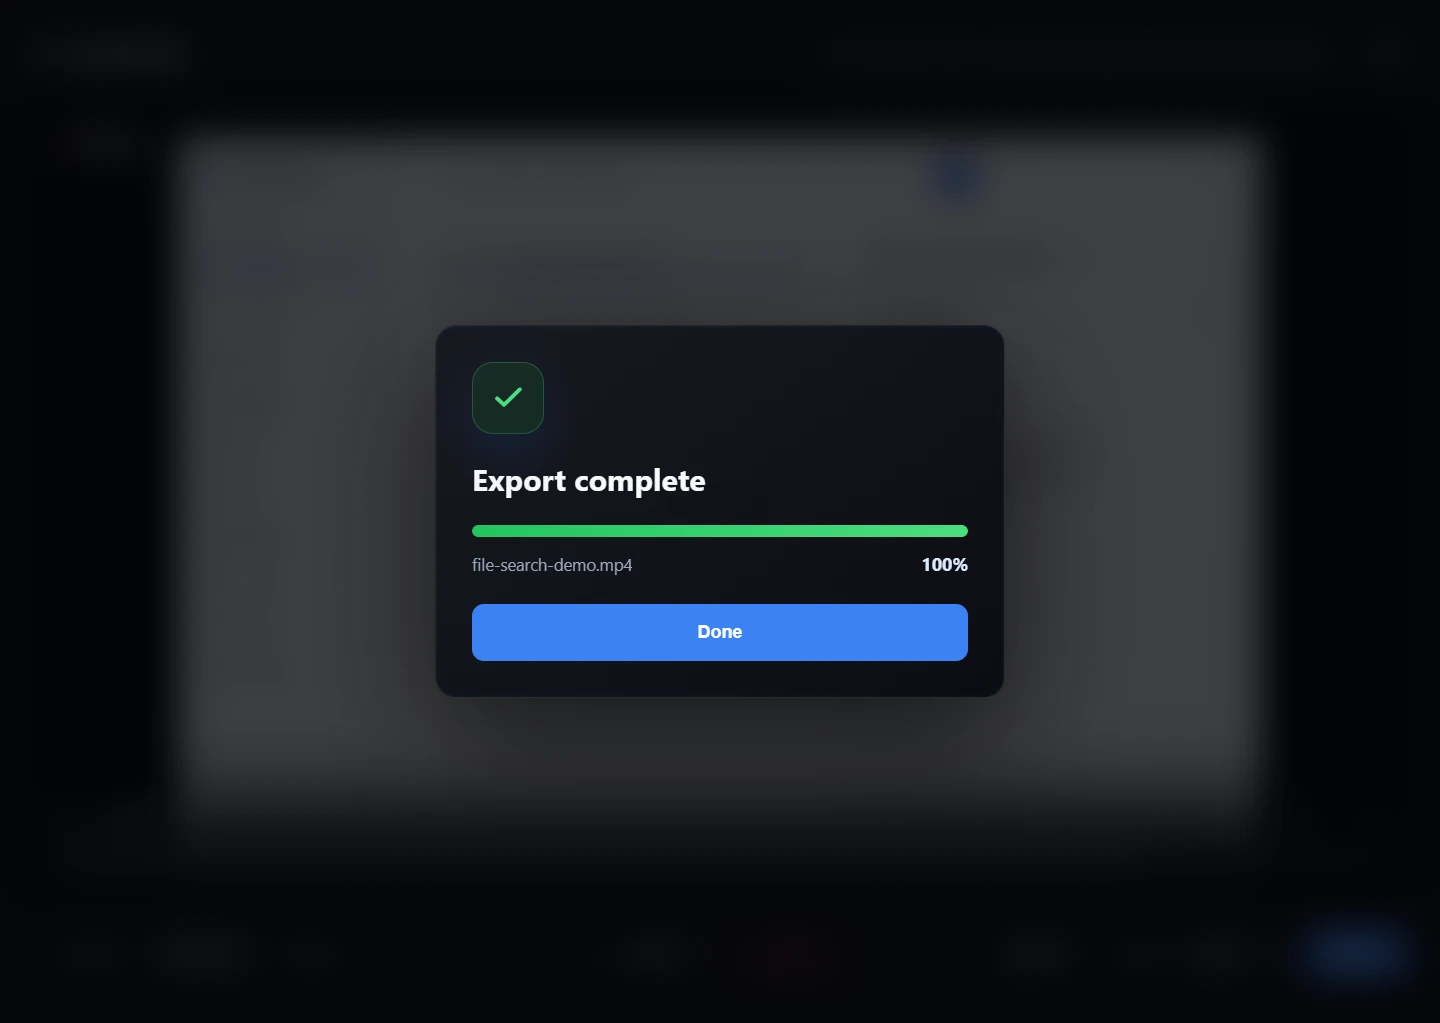
The official-store version exported file-search-demo.mp4 successfully. The saved H.264 file is 990 × 720 at 30 FPS, lasts 19.6 seconds, and all 588 video frames were decoded for verification.
If you need to shorten the clip
The Windows version captured for this guide did not expose Trim start, Trim end, or Jump start controls. The screenshots verify recording and export; they do not demonstrate in-app trimming.
For a shorter result, record a cleaner take or open the saved file in a video editor. Keep a short lead-in and enough time at the end to see what changed, then play the edited file to check its boundaries.
Open Screen Region Recorder and make one short demonstration. For a static reference instead of a sequence of actions, use a pinned screenshot.