
If an image exceeds an upload limit, make a smaller copy by adjusting its format, pixel dimensions, and quality. Then check the saved file's size before submitting it. Image Munch lets you make those adjustments manually and compare the result with the original.
In this walkthrough, a 2400 × 1600 PNG becomes a 1200 × 800 JPG weighing 123,575 bytes—below our example limit of 200,000 bytes. The settings worked for this poster; another image may need different settings.
Tested on Windows with Image Munch 1.2.4 on September 7, 2026. The poster is an original demonstration asset. The 200 KB cap is an example, not a limit from a particular upload website.
Check what the upload form actually accepts
Before reducing the file, read the form's requirements. Note the maximum file size, accepted formats, and any required dimensions. A smaller JPG will not solve a form that requires PNG, transparency, or a larger minimum resolution.
Our example assumes the form accepts JPG, permits 1200 × 800 pixels, and caps the file at 200,000 bytes. We will leave some room below that cap rather than aim for an exact boundary.
Open the image and check its starting size
Open Image Munch in Aelrox, then use Choose image to select your picture. If you are new to the desktop app, start with the desktop toolkit guide.
The example starts with a PNG poster at 2400 × 1600 pixels. Its actual file size is 1,395,105 bytes; Image Munch displays 1.33 MB. Keep this original so you can start again if a smaller version loses too much detail.
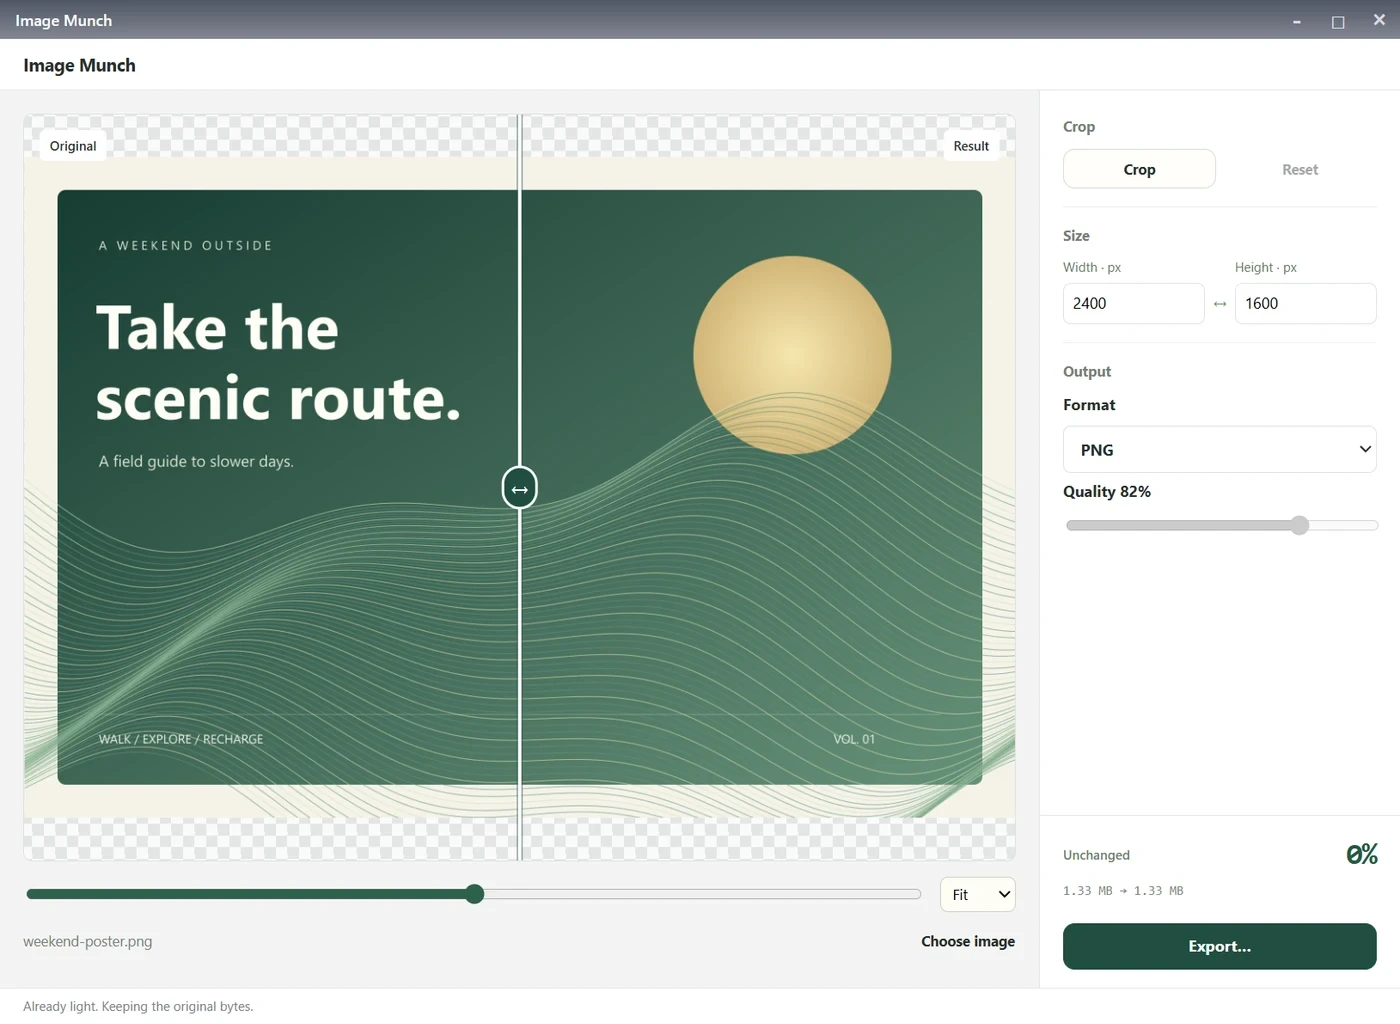
The example poster contains an illustrated landscape, large lettering, and fine contour lines that make changes easier to inspect.
Try JPG, then reduce dimensions and quality
For this opaque poster, select JPG under Format. In our first attempt, JPG at quality 95 and the original dimensions still produced 683.0 KB in the app. Changing format alone was not enough.
Next, change Width to 1200. The linked Height becomes 800, preserving the aspect ratio. Set Quality to 82%, then wait for the result and file-size estimate to update.
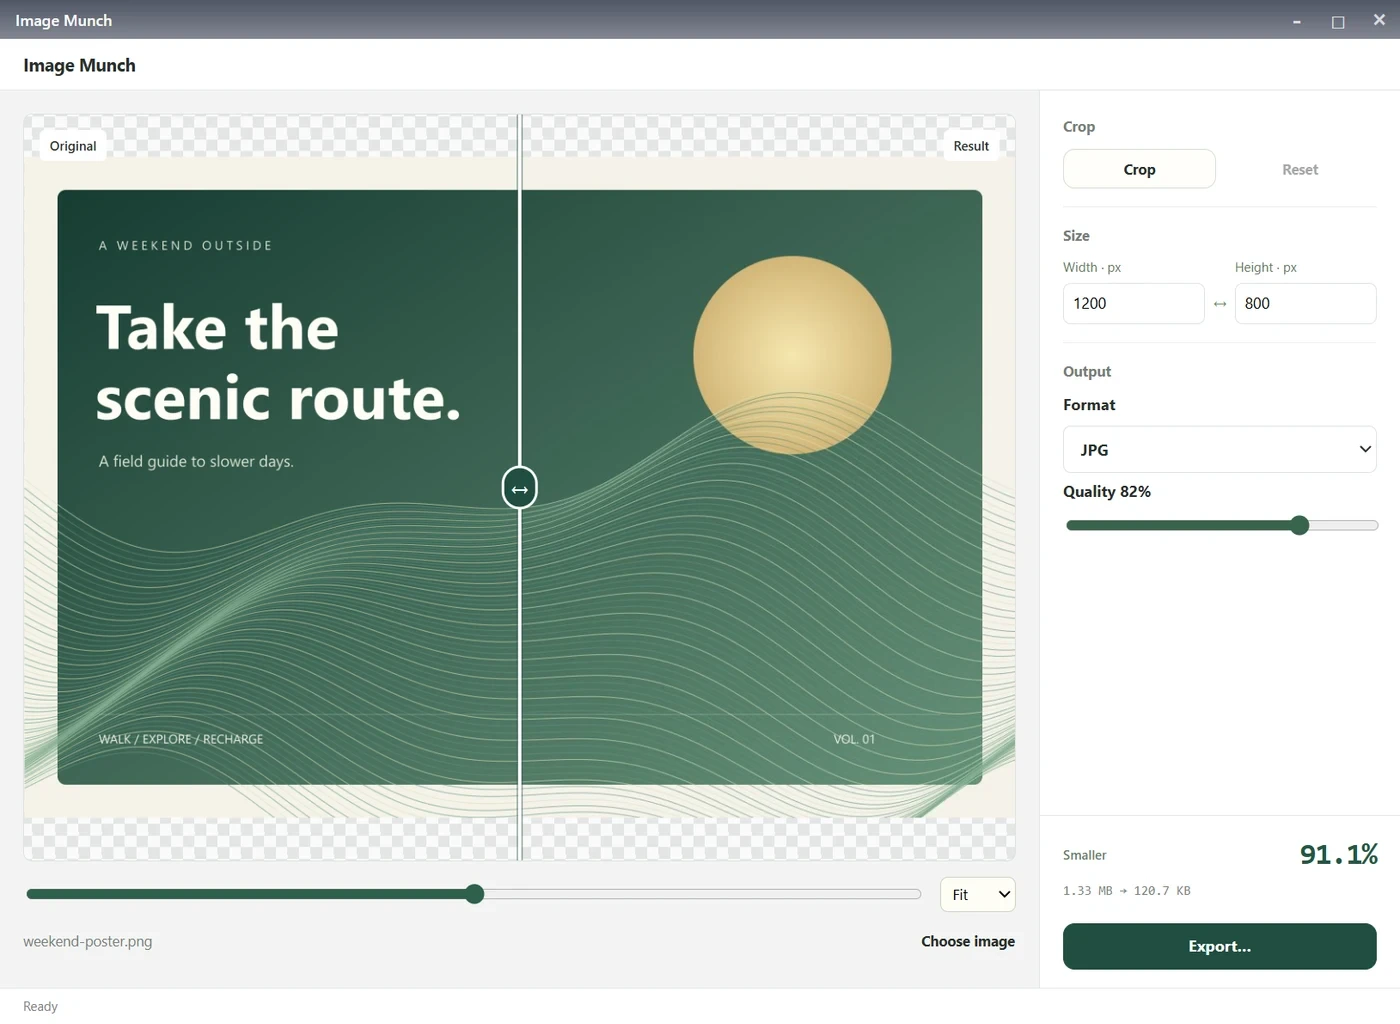
| Step | Pixels | Output | App size |
|---|---|---|---|
| Original | 2400 × 1600 | PNG | 1.33 MB |
| JPG only | 2400 × 1600 | JPG, 95% | 683.0 KB |
| Final | 1200 × 800 | JPG, 82% | 120.7 KB |
This reduction combines a format change, fewer pixels, and lossy JPG compression. It is not a lossless result or a guarantee that quality 82 will put every image below 200 KB.
If yours remains too large, lower quality a little or reduce the dimensions further, provided the upload requirements allow it. Change one setting at a time so you can judge the trade-off.
Inspect the details before exporting
Move the before-and-after divider and use the 100% view to inspect important details. Look at small lettering, edges, and fine lines rather than judging only the fitted preview. A file can meet the size cap and still look too soft for its intended use.
In this example, the exported poster retains its headline and overall artwork, but reducing dimensions and using JPG changes fine detail. Compare your exported copy with the original before deciding whether this trade-off suits your own image.
Export a copy and verify the file
Click Export… and save the JPG under a new name. In the test, Image Munch showed Copy saved. The resulting file measured 123,575 bytes at 1200 × 800 pixels.
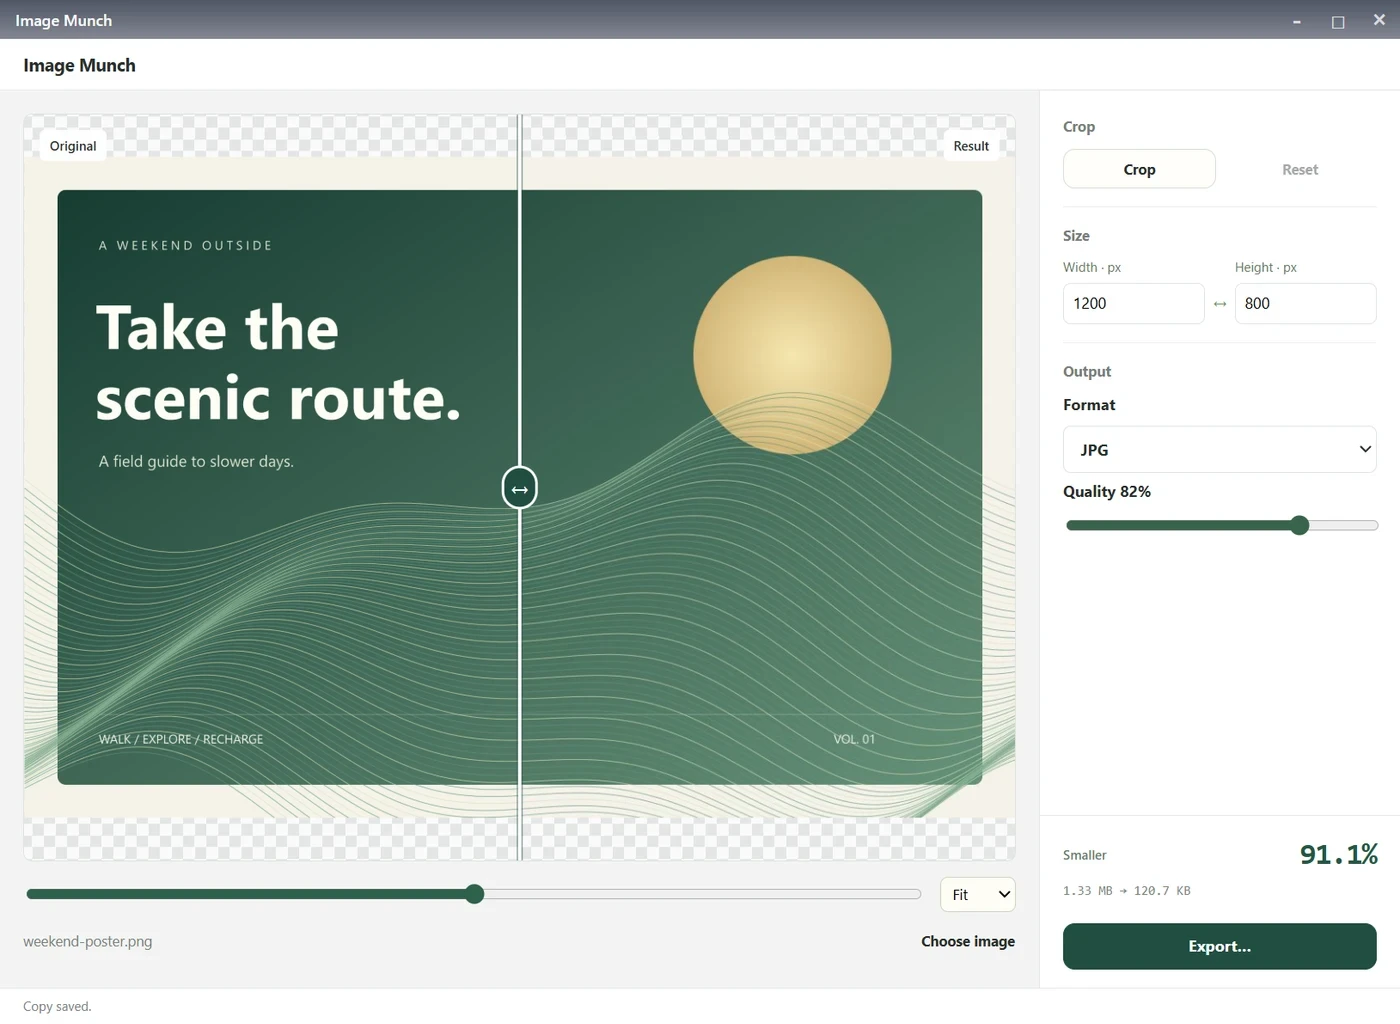
That is below our 200,000-byte example cap. Image Munch displays binary-sized units labeled KB, which is why its 120.7 KB readout differs from the decimal figure of about 123.6 KB. Checking bytes avoids ambiguity near a limit.
Now select the exported copy in your upload form. We verified the file on disk; we did not test submission to a particular website. The form may have additional requirements beyond file size.
Common questions
Can Image Munch automatically hit exactly 200 KB?
This walkthrough uses manual dimensions and quality adjustments. The tested version does not provide an automatic target-file-size control. Check the result after each adjustment.
Should I always switch PNG to JPG?
No. Choose a format the destination accepts and your image needs. Keep transparency requirements in mind, and inspect text-heavy images carefully before choosing a lossy format.
What if I also need to remove part of the picture?
See the separate crop and compress walkthrough for a crop-based example. Here, we kept the complete poster and changed its export settings.
Try the process with Image Munch, or download Aelrox to use it on your desktop.